

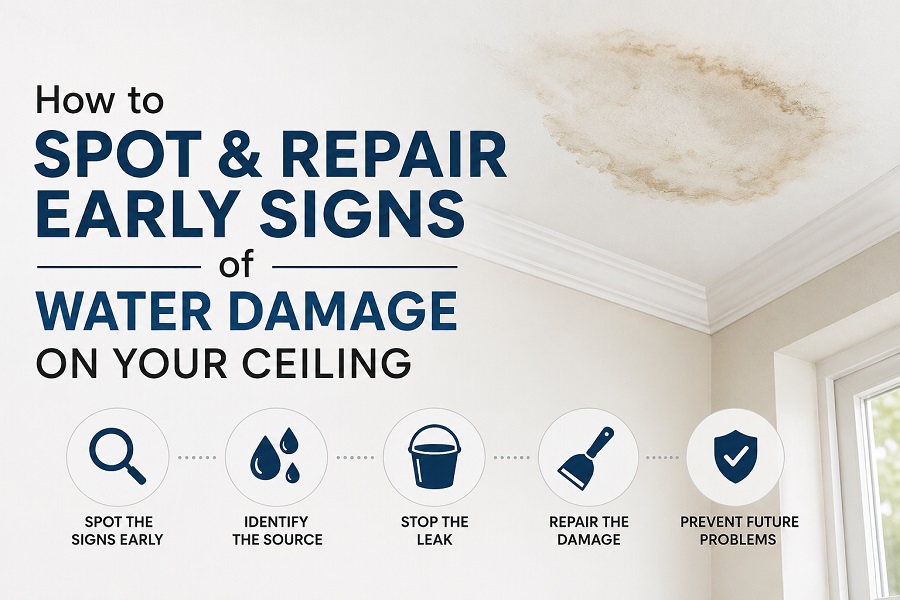
The first faint yellowish ring of a water stain appears innocuous enough – almost like a shadow. It’s tempting to think the leak responsible will just go away on its own or that the source of seepage isn’t serious. Maybe it’s just a minor leak. It could easily just be a one-time thing from a rainstorm, right? And even if it’s not, fixing the ceiling can wait until the weekend when the weather isn’t as conducive to outdoor activities.
What You’re Actually Looking At
The common halo effect, that rusty brown or yellowish ring on your ceiling, is caused by water wicking up drywall and dissolving the surfactants present in the paint. As the water evaporates, it leaves the surfactants behind on the wall’s surface, creating a soapy staining effect that outlines the edge of the leak. If you see one ring, then the water has dried up, and you’re only seeing the evidence of it. If you see multiple rings, the leak might be intermittent, while if you see one continuous wet spot with no drying in the center, the leak may be a pressurized one.
Roof Leak Or Plumbing Failure?
Before you do anything else, this is the question to answer. A stain that appears or grows only during heavy rainfall points to a roofing issue – typically failed flashing, a cracked roof valley, or missing shingles. A wet spot that keeps expanding even in dry weather is almost always a plumbing failure: a slow drain leak, a failing wax seal on a second-floor toilet, or a pressurized pipe that’s weeping.
Misdiagnosing the source is exactly how homeowners end up patching the same ceiling three times. Fix the cosmetic damage without fixing the cause, and the stain comes back within weeks. A company specializing in Water damage restoration Marietta, GA has the equipment to dry out structural joists properly and treat hidden mold before it spreads through the wall cavity.
Safety First: What To Do With A Sagging Ceiling
If you see that the drywall is sagging, that means you have pooled water above it. Get a bucket, put it underneath, and take a small screwdriver, and puncture the center of the sag. Let it drain. This will be a lot less messy than waiting for the ceiling to fall by itself. A sudden collapse, by the way, can bring down a section of drywall weighing hundreds of pounds along with the water.
Ceiling joists are for static load, not the added weight of saturated drywall and standing water. When the water does drain, press gently on the damaged area with your finger. This is the “push test.” If the surface feels spongy, soft, or crumbles at all, that section cannot be painted over or patched at the surface. It needs to come out.
When To Stop The DIY Work
There’s a meaningful difference between a stain that’s a few inches across and a patch of damage covering several square feet. Small areas with no structural softening, no active leak, and no visible mold can reasonably be addressed by a homeowner who’s comfortable with basic repairs. Larger areas are a different situation.
Mold is the main reason to bring in professionals for anything beyond minor damage. According to FEMA, mold can begin growing on damp drywall surfaces within 24 to 48 hours of initial water exposure. You won’t always see it. It grows in the cavity behind the drywall where the framing and insulation stay wet long after the visible surface looks dry. A moisture meter – a tool that reads hidden dampness behind paint – will often show elevated readings in areas that look completely fine to the eye.
If the damaged area is more than a couple of square feet, or if there’s any sign of contaminated “category 3” water (which includes sewage backflow or standing floodwater), this is the point to call people who do this professionally.
Drying Out Before Any Patching Begins
Whether you’re doing the work yourself or hiring a pro, nothing goes over a wet ceiling. No joint compound. No paint. Nothing.
The cavity behind the drywall needs to reach normal relative humidity before the surface can be repaired. Run a dehumidifier in the room and if possible, blow air into any open portions of the ceiling with a fan. Apply an antimicrobial solution formulated for mold remediation to all exposed framing and insulation – not bleach, which doesn’t penetrate porous materials effectively.
Drying time varies based on how long the ceiling’s been wet and the class of water intrusion. A slow, minor leak caught early might dry in 48 to 72 hours. A ceiling that’s been wet for weeks needs significantly longer.
The Right Way To Finish The Repair
Once the area is confirmed dry, cut out any soft or crumbling drywall sections and replace them. Use joint compound to smooth and feather the patch into the surrounding surface, let it cure fully, and then sand it flush.
Here’s where most DIY ceiling repairs fail: the primer. Standard latex paint is water-soluble, and water stains will bleed right through it no matter how many coats you apply. You need an oil-based or shellac-based stain-blocking primer – one specifically formulated to seal the damaged area. Apply that first, let it dry completely, and then topcoat with your ceiling paint.
A ceiling that’s been repaired properly won’t show the stain again. If the ring reappears after painting, the source leak was never fully resolved. That’s the diagnostic test at the end of every ceiling repair: if it comes back, you missed something above it.
